Link to original article:
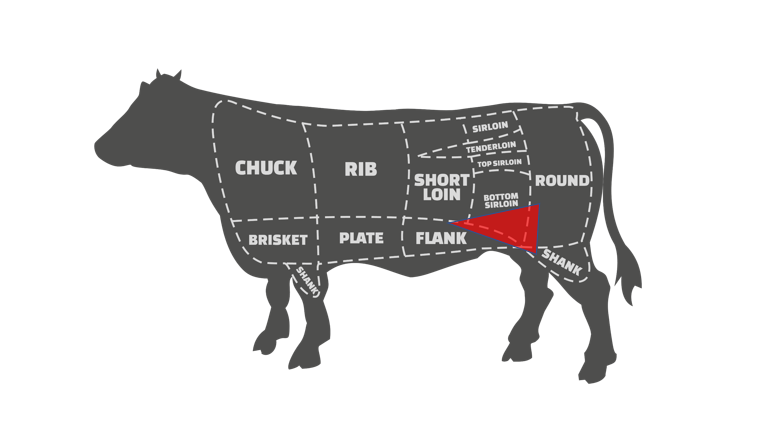
Tri-Tip, the longtime West Coast crowd-pleaser that’s made its way across the U.S., is one of the simplest and most satisfying cooks you can do.
Ingredients
- One 4-6 lb Tri-Tip Roast
- Olive Oil or Hot Sauce
- Salt, Pepper, Garlic Powder, or Your Favorite Beef Rub
Equipment
- 1 Offset Smoker, Pellet Grill, Ceramic Grill, or Charcoal Grill
- 1 Cast Iron Skillet
Trim the Tri-Tip
Don’t skip this crucial (and easy) step! Ensuring your Tri-Tip is properly trimmed makes a HUGE difference in your final product. Most of these cuts will already be trimmed of the large, hard chunks of fat and membrane once they find their way to your home. However, taking a few minutes to really clean them up will guarantee that every bite is tender and you don’t get stuck gnawing on a hard piece of chewy fat. Check out my post here for how to properly trim a Tri-Tip.
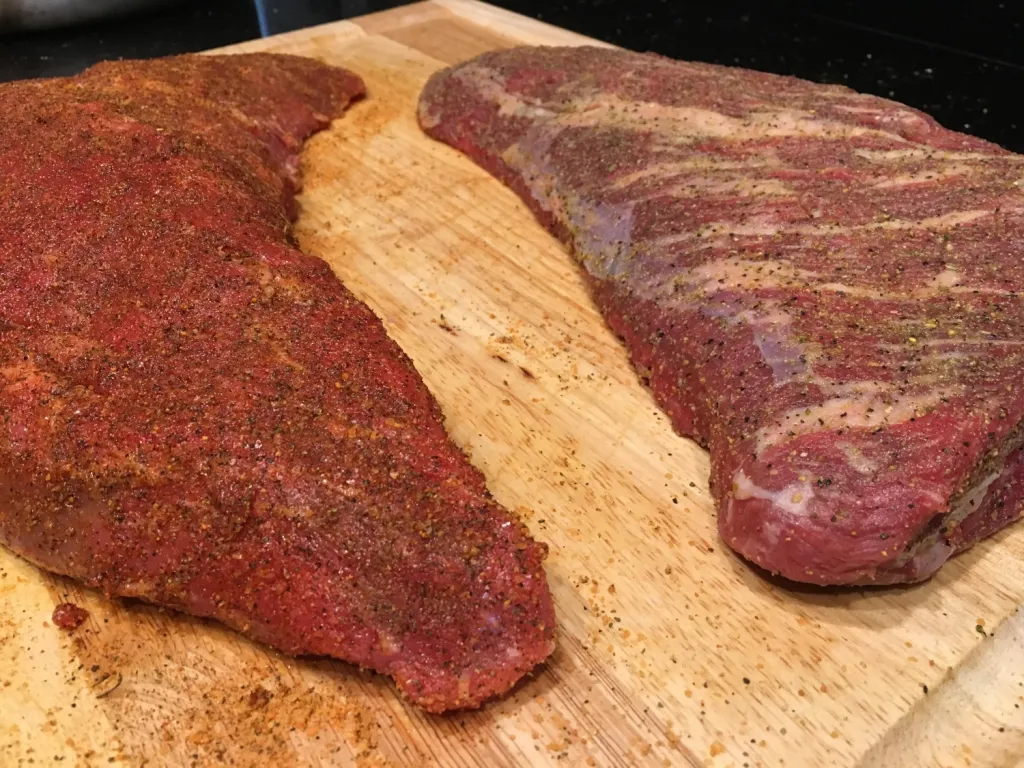
Season the Tri-Tip
Now that the Tri-Tip is trimmed and beautiful, it’s time to put your favorite flavors on it. The best part about this step? It’s impossible to screw it up. Tri-Tip is an incredibly versatile cut of meat, and pairs nicely with almost any seasoning or rub. So, feel free to go crazy with your most exotic spice blend, or keep it simple with salt, pepper, and garlic powder. Additionally, you might choose to use a binder before applying your dry seasoning, which just helps the spices adhere to the meat. Popular binders include oil, mustard, or hot sauce. I typically go with a light coat of extra virgin olive oil. Make sure you’ve got a nice, even coat of spice or rub, and you’re ready to hit the grill.
Smoke the Tri-Tip
Get your smoker set to somewhere between 175° and 225°. The exact temp is not crucial, but the goal at this stage is optimal smoke. We’re going to smoke the Tri-Tip until an internal temp of about 130° – 135° (for medium-rare, which is ideal for Tri-Tip). Keep in mind that the higher our smoking temp, the faster the meat will reach our desired internal temp (duh), but it also means that we’ll have less time to form a nice smoke ring.
The great thing here is that it means our cook time can be fairly flexible. I typically start off at the lowest smoking temp and BBQ there for as long as possible. This let’s the meat absorb as much of that good smoke flavor as possible. Then, if my guests are arriving or my wife is getting impatient, I can always increase the smoke temp to get to internal temp faster.
Quick note about wood: I’ve cooked Tri-Tip with a variety of woods, and like with seasoning, you really can’t go wrong. Try oak or alder – lately I’ve been using mesquite.
Sear the Tri-Tip
Once you’ve reached 130° – 135° internal, remove the Tri-Tip from the smoker and set it aside. You may notice that it doesn’t have the most appealing color or texture at this point. We’re about to fix that.
The last step is to quickly sear the meat on both sides. This is going to give us a nice crust, some char, and an awesome color. Take your largest cast iron skillet and get it screaming hot (and I mean as hot as you can get it). The reason this is important is that we’re not trying to cook the meat any more, we simply want to sear the outside for a great texture. If the skillet isn’t hot enough, you run the risk of continuing to cook the inside of the meat past medium rare.
Once your skillet is smokin’ hot (be careful with your hands now) add about a half stick of butter to the skillet. Butter is great for searing, as the milk proteins help to quickly brown the meat. Let the butter melt (shouldn’t take long) and add the Tri-Tip. Let it sear for about 30 seconds on each side. Seriously, if your skillet is hot enough this should not take more than 60 seconds. Remove from the skillet and let it rest on a cutting board.
Slice the Tri-Tip
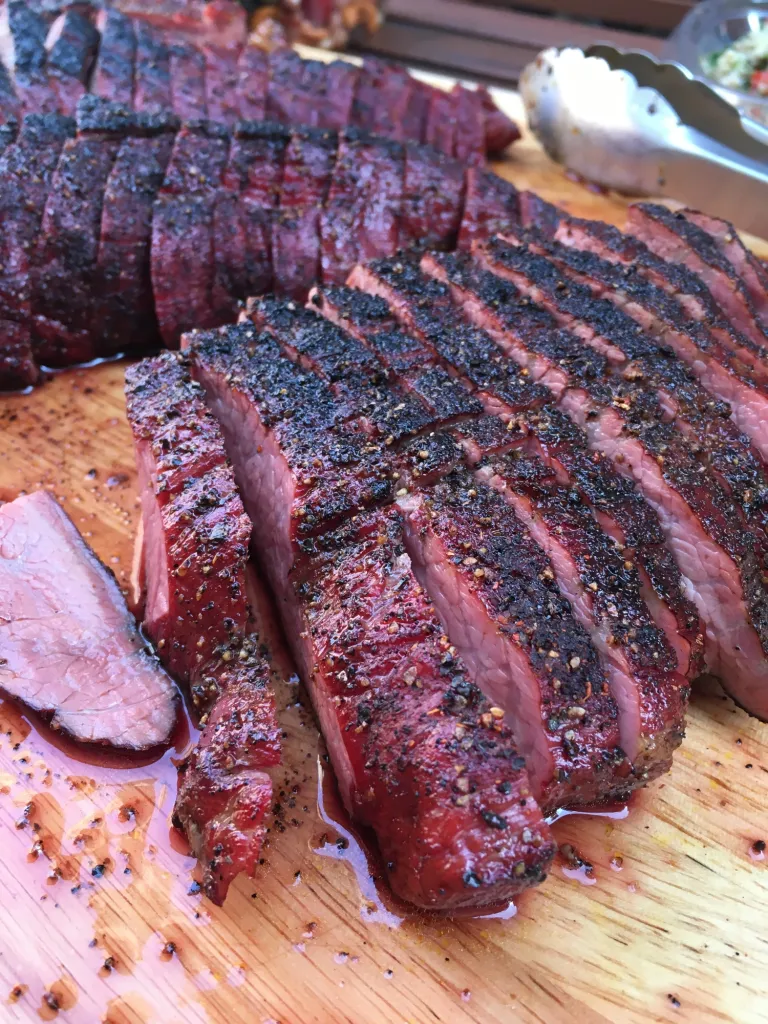
Alright, last step. As tempting as it might be to start digging in, let the Tri-Tip hang out for 5-10 minutes. Resting lets all those great juices redistribute back through the meat, instead of running out on your cutting board. Speaking of slicing, there’s a technique to this. Tri-Tip actually has 2 different directions of grain, and it’s key to slice against those grains so that every bite is pull-apart tender, and not stringy and chewy. Check out my dedicated post to Tri-Tip slicing here.
At this point, hopefully you’re staring at a pile of beautiful, smoky, tender, BBQ’d Tri-Tip. So, stop reading this and get to eating!
